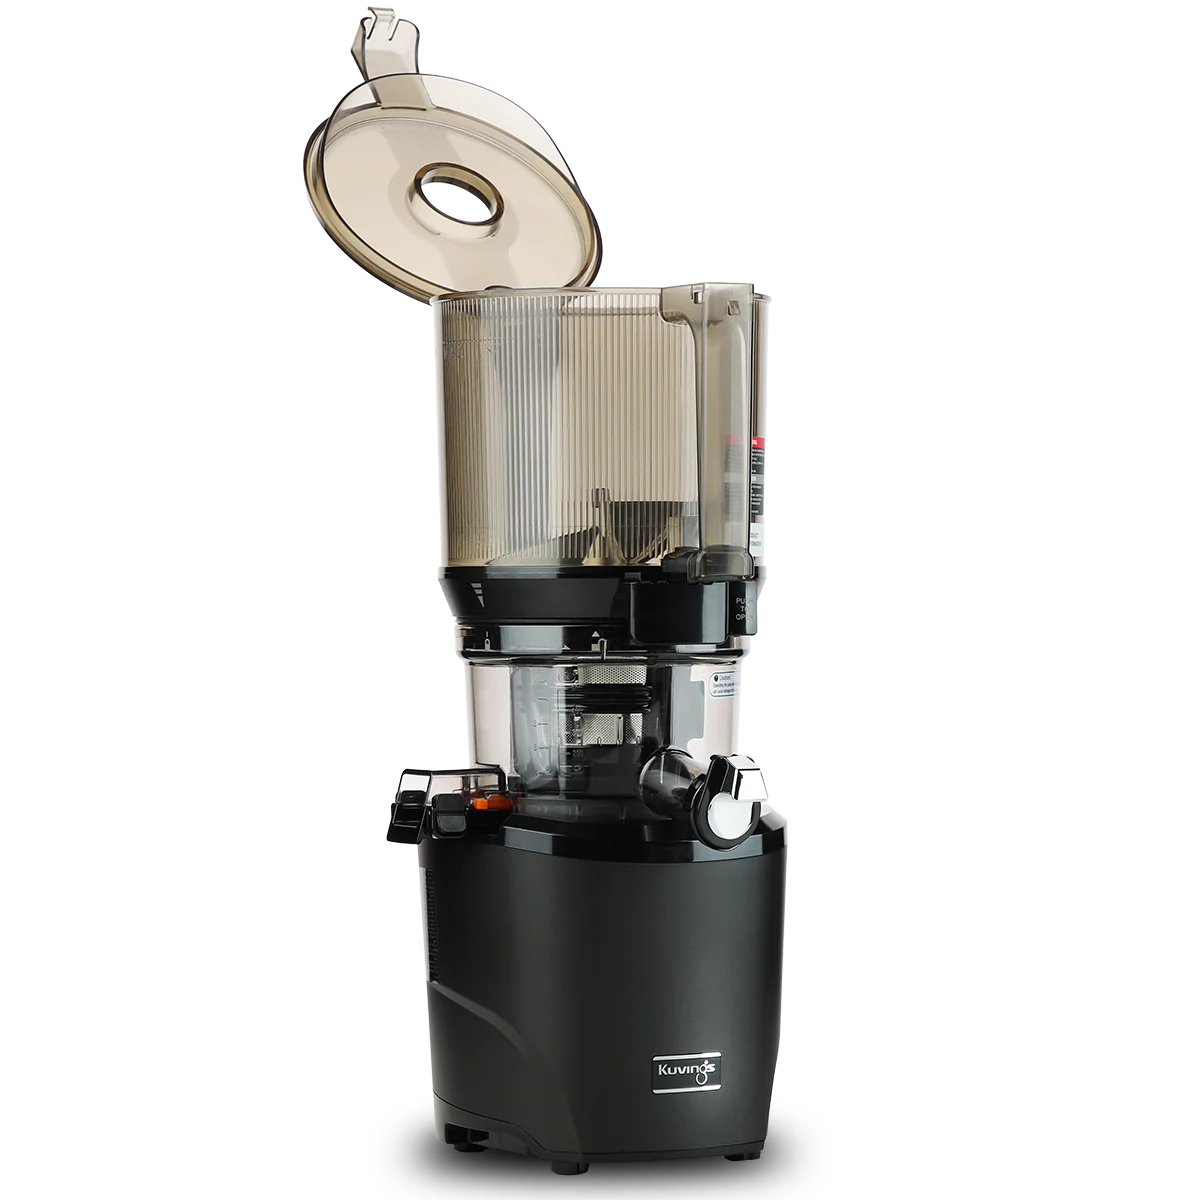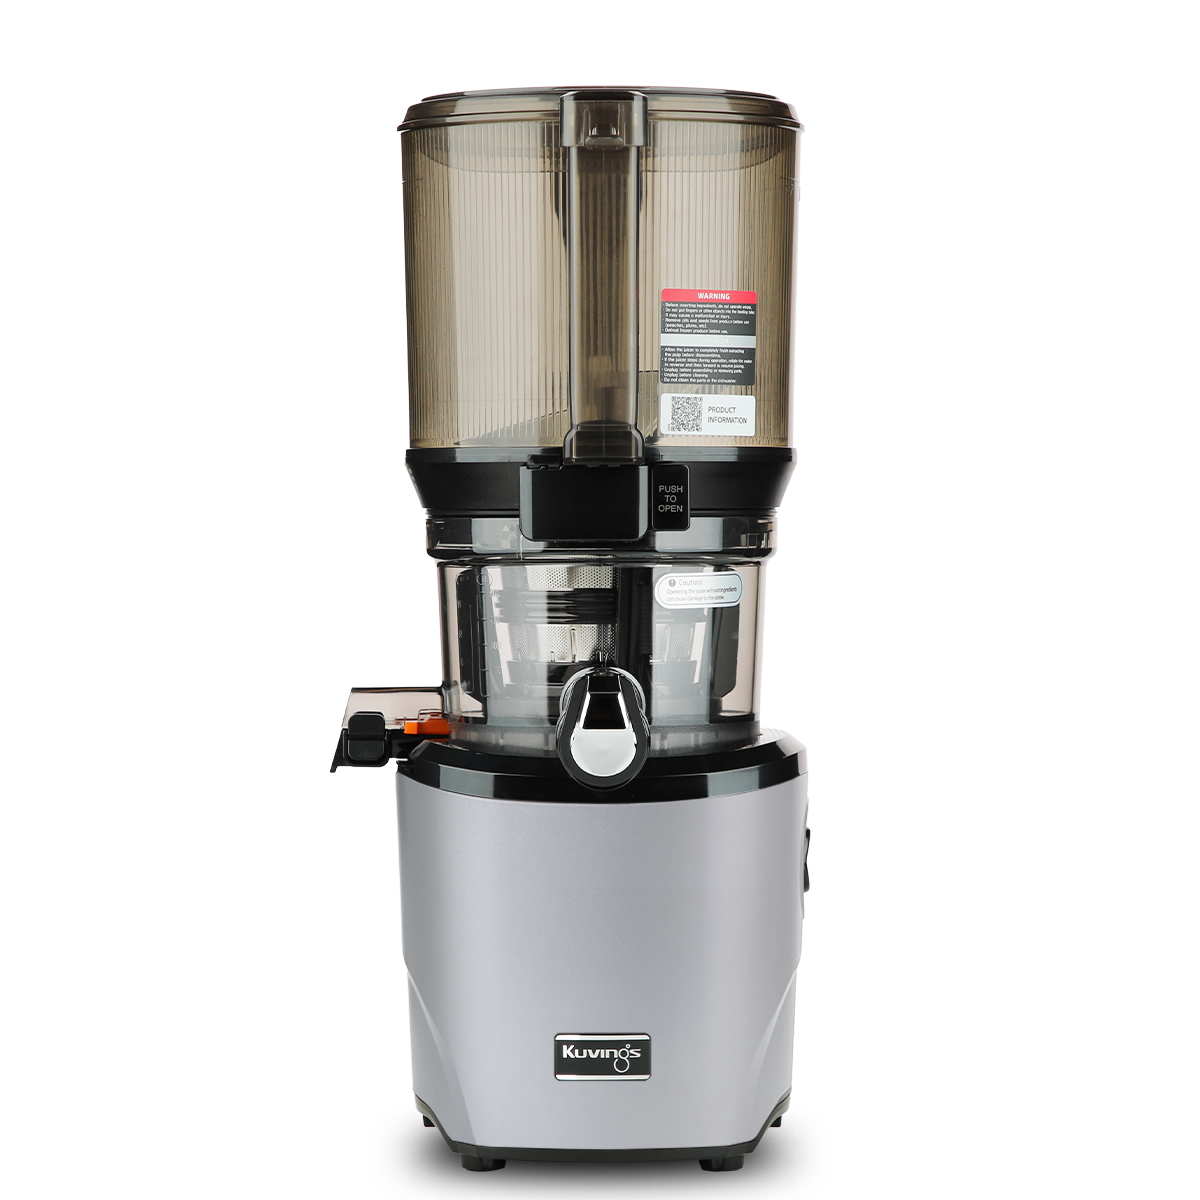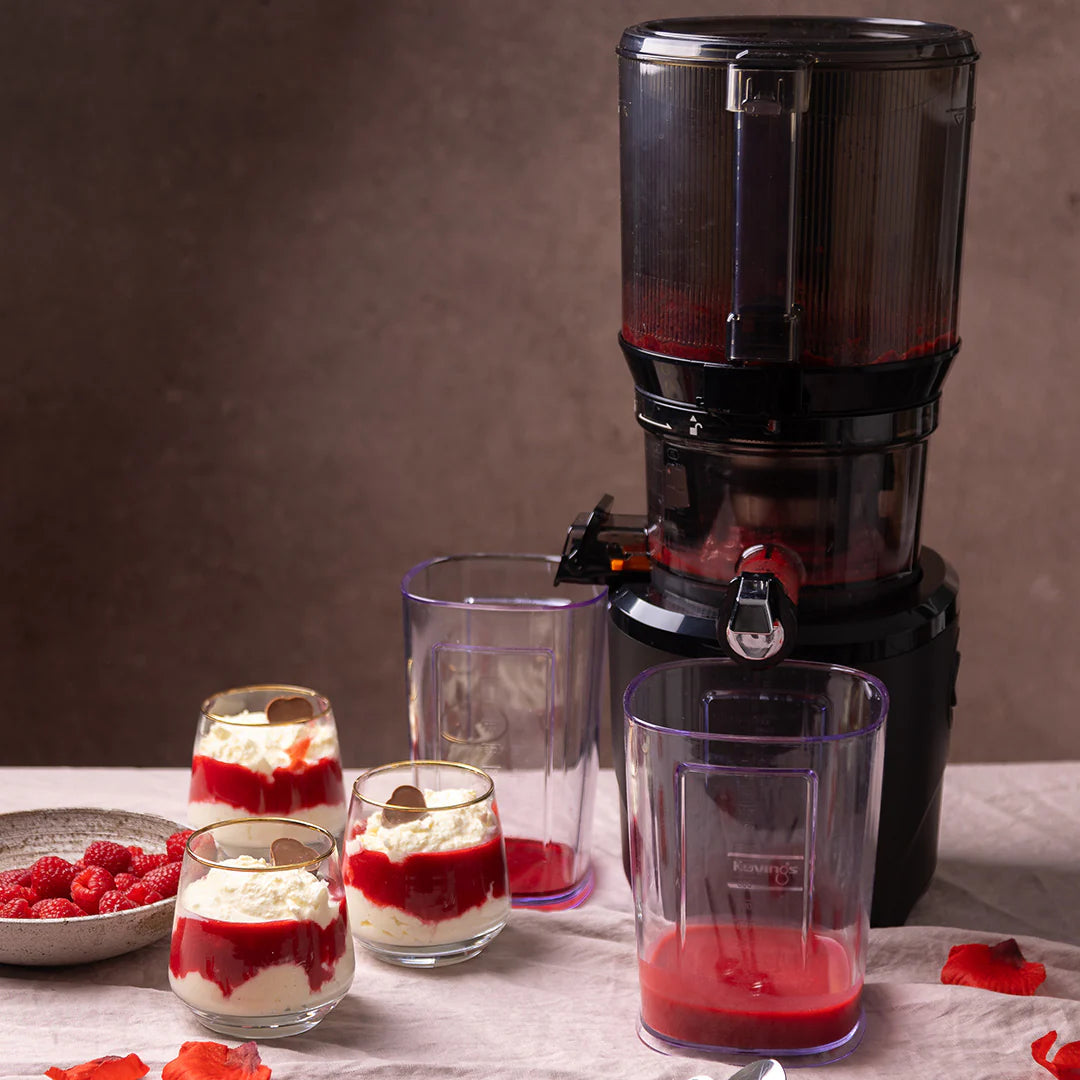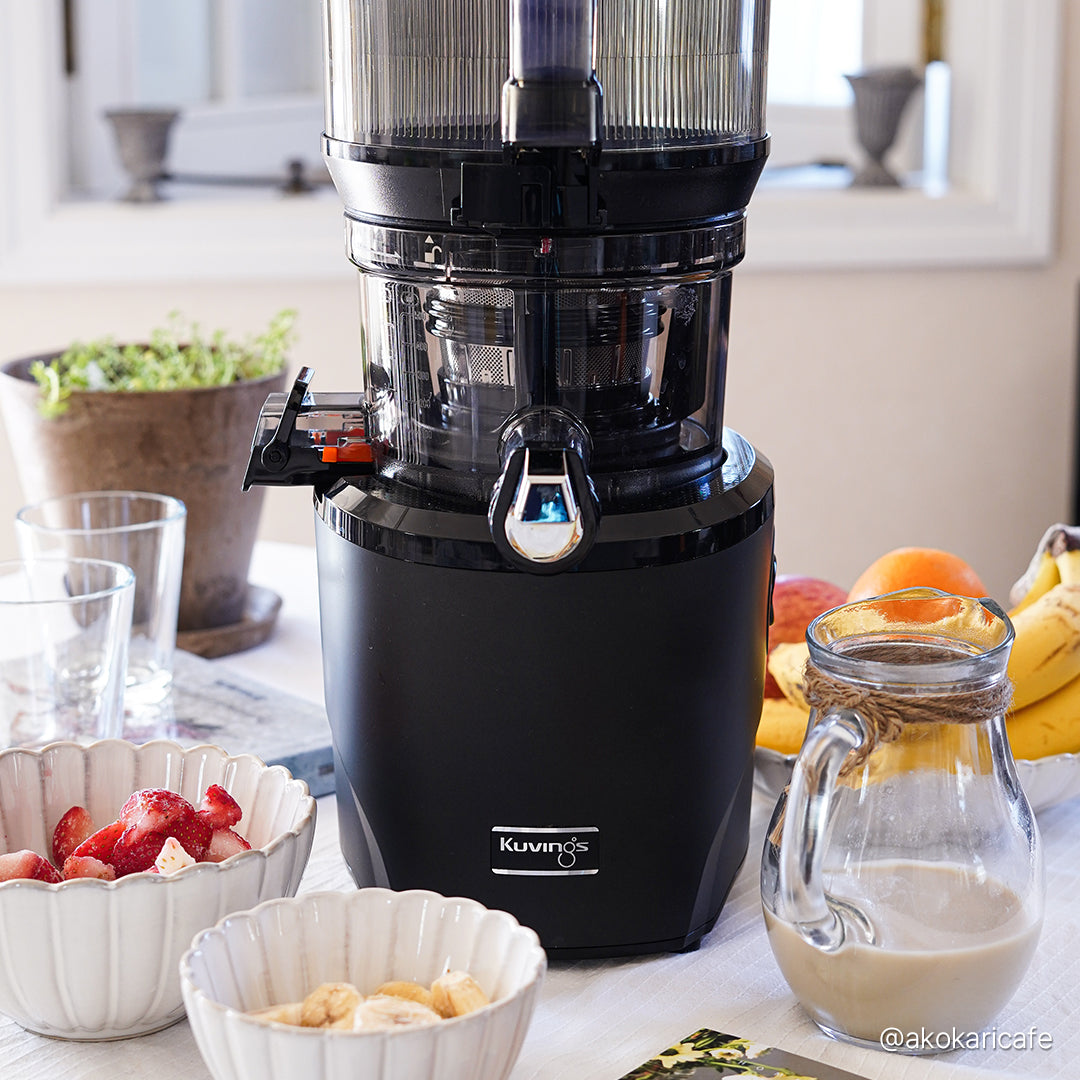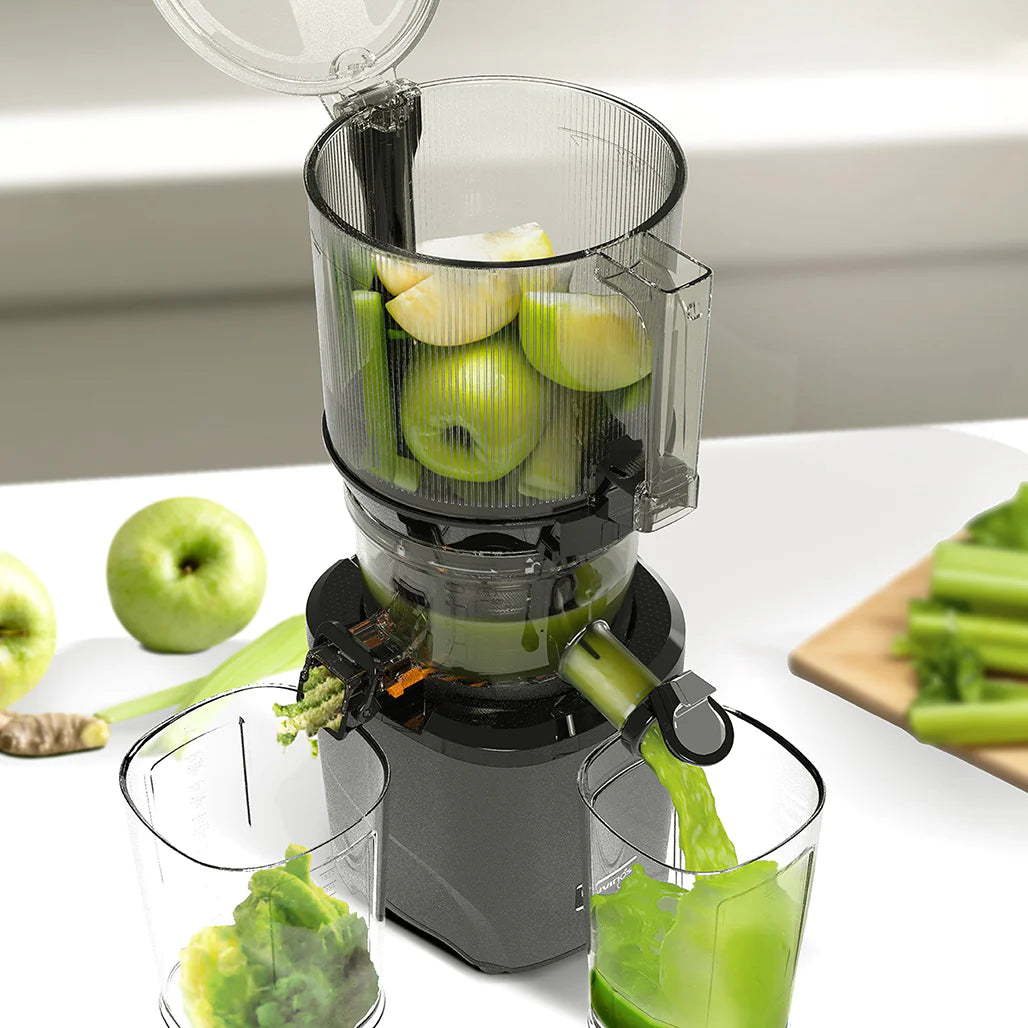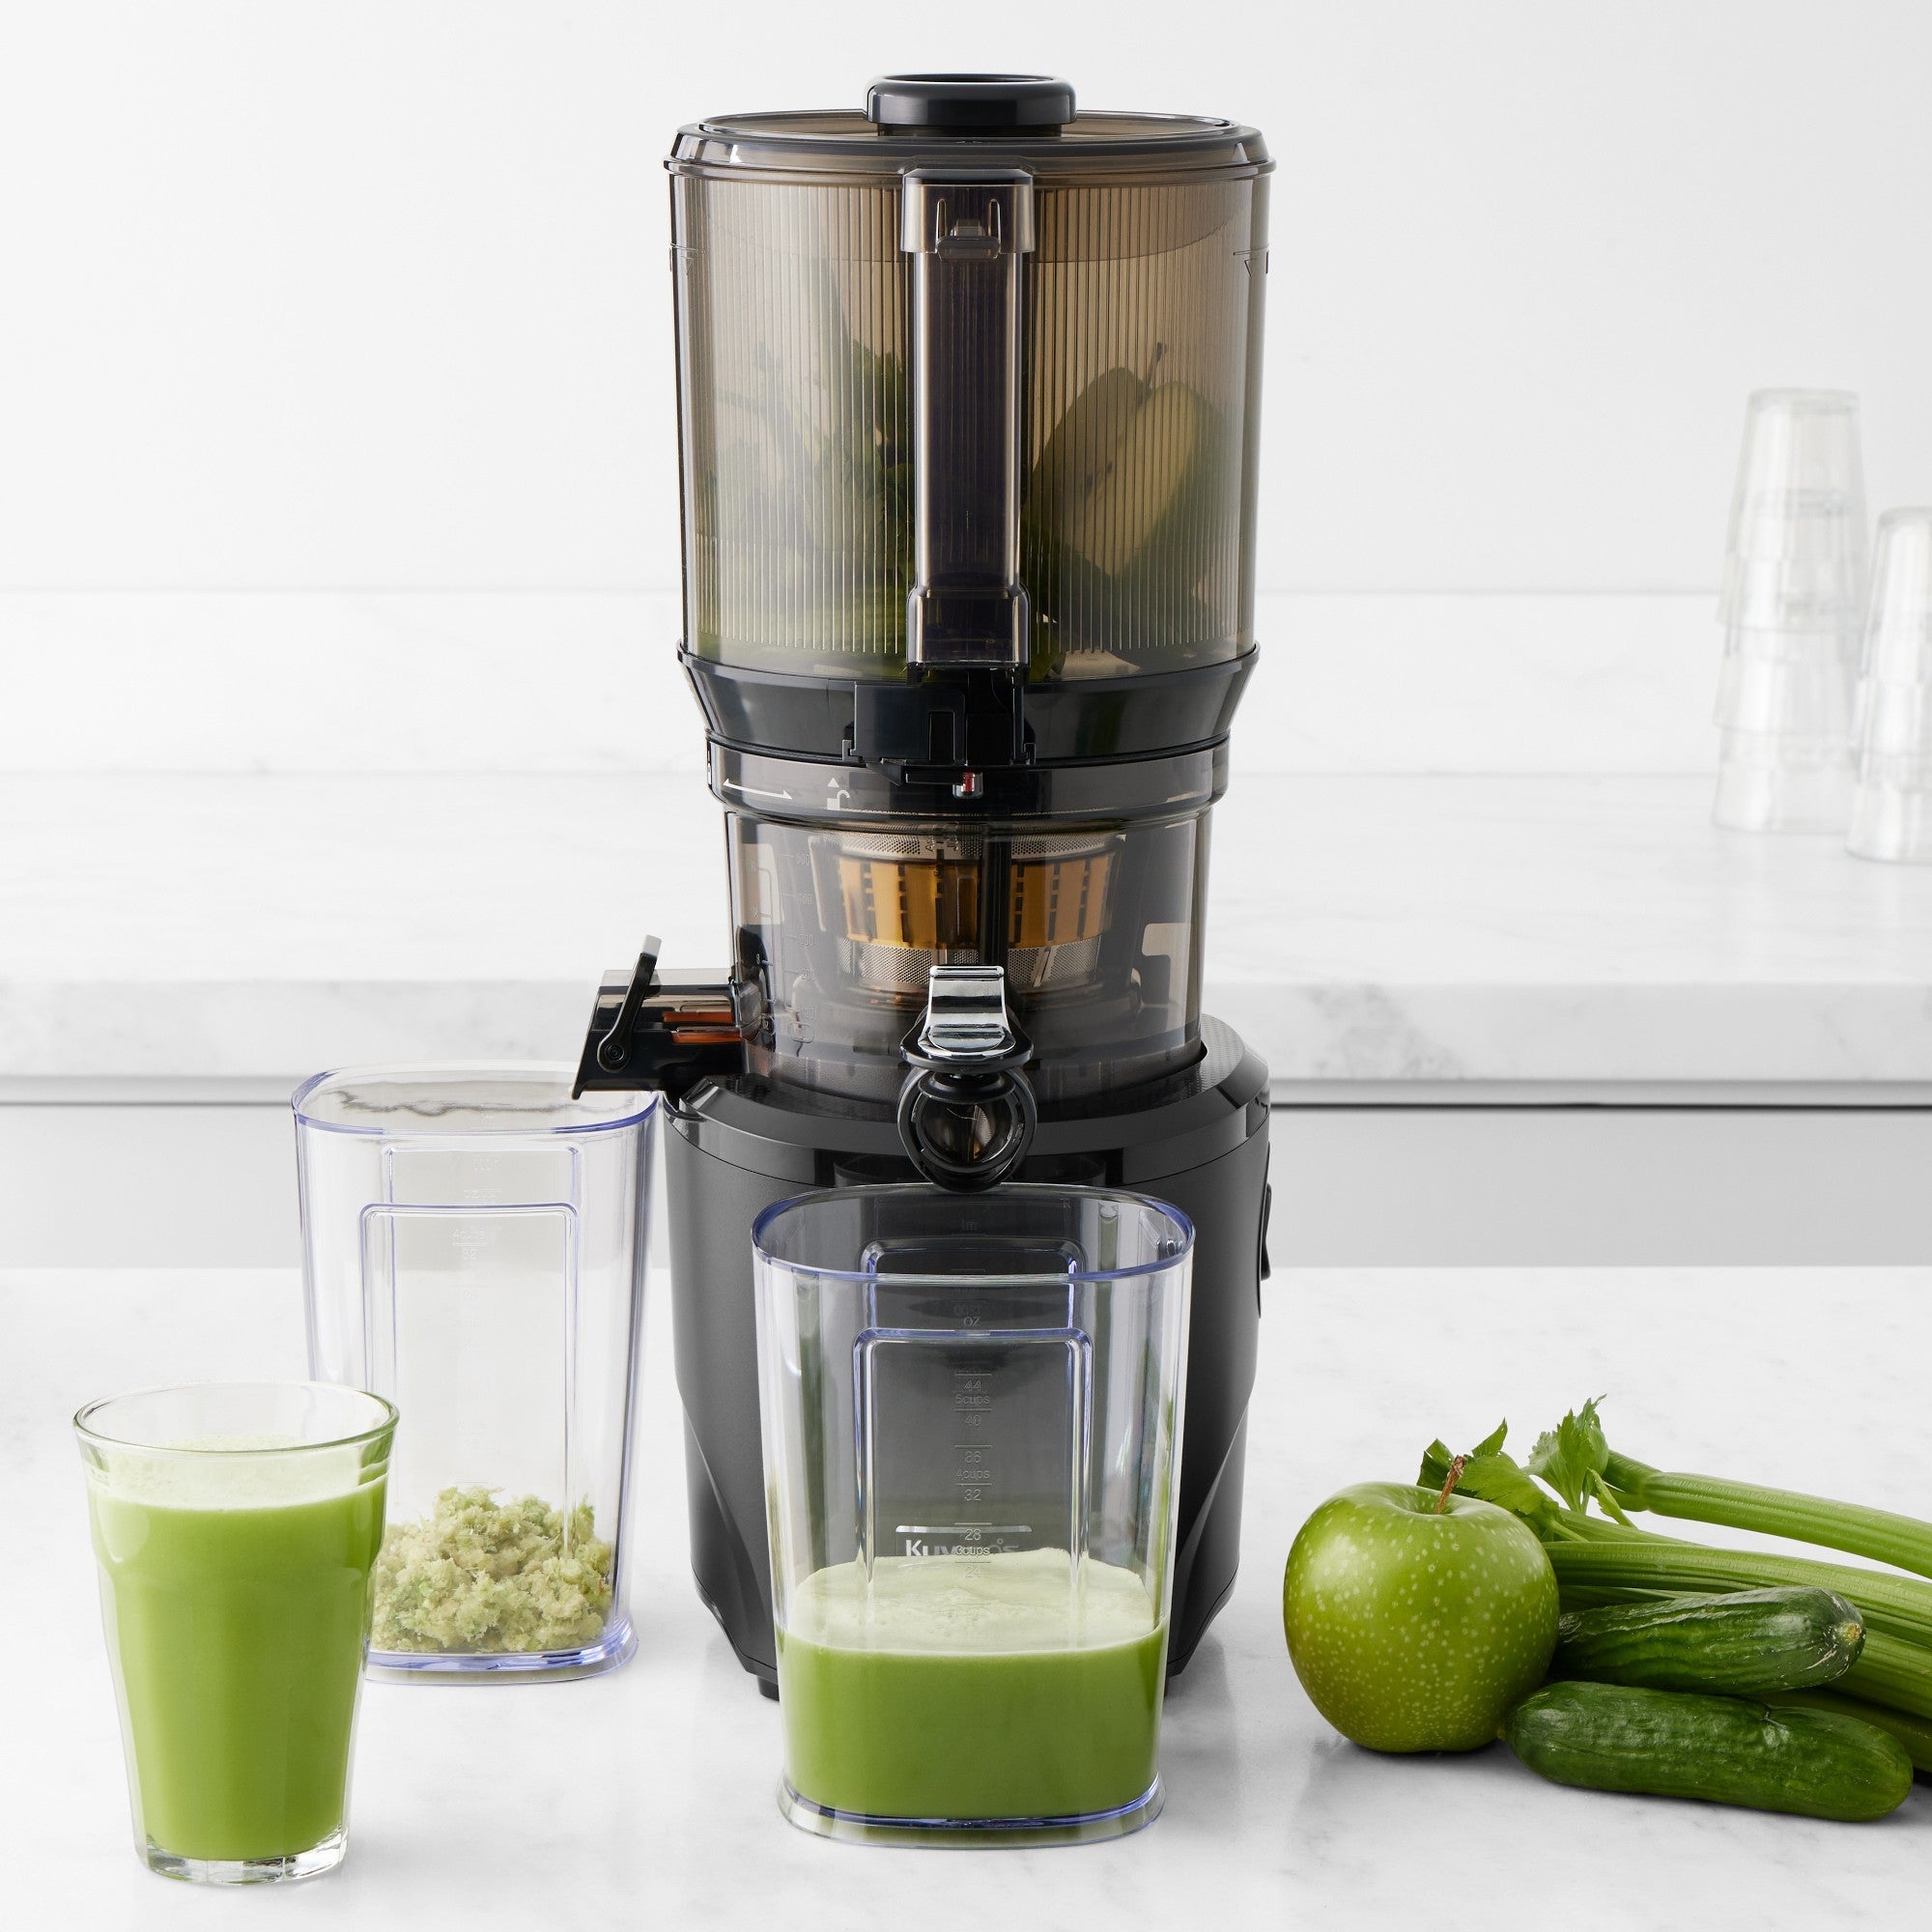


Ice Cream Maker for REVO830
Description
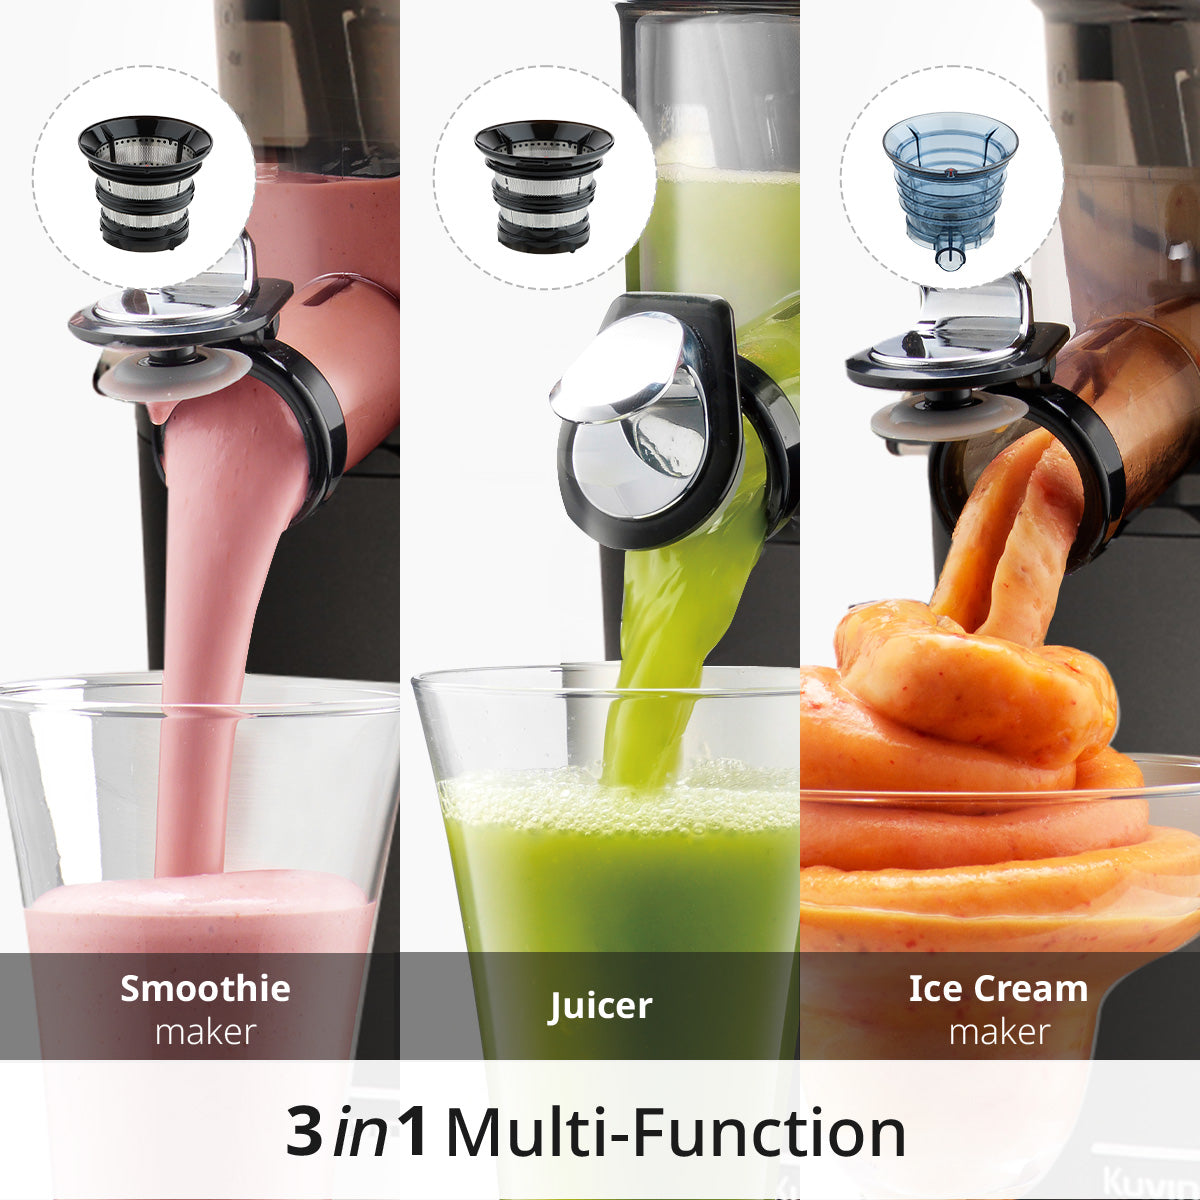
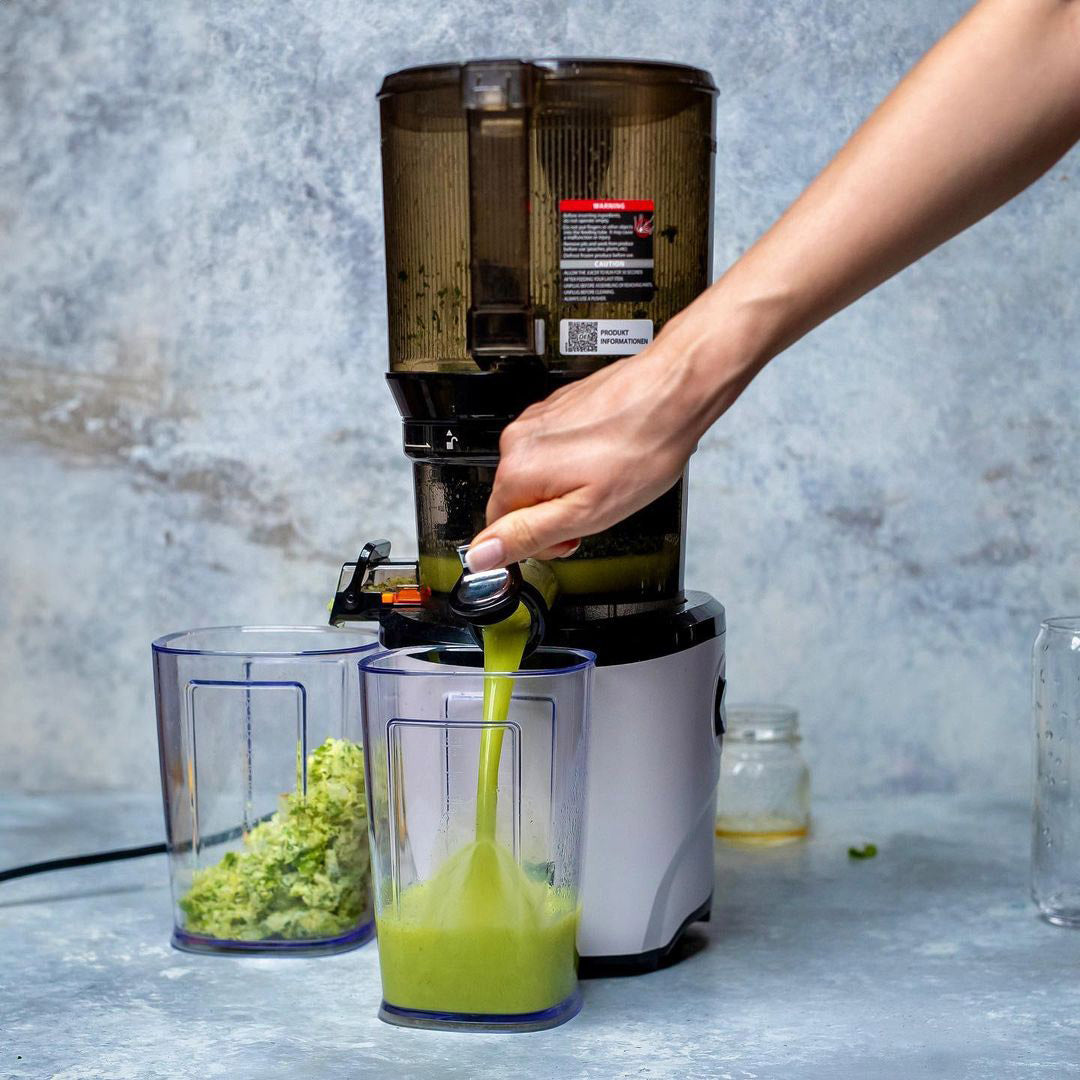
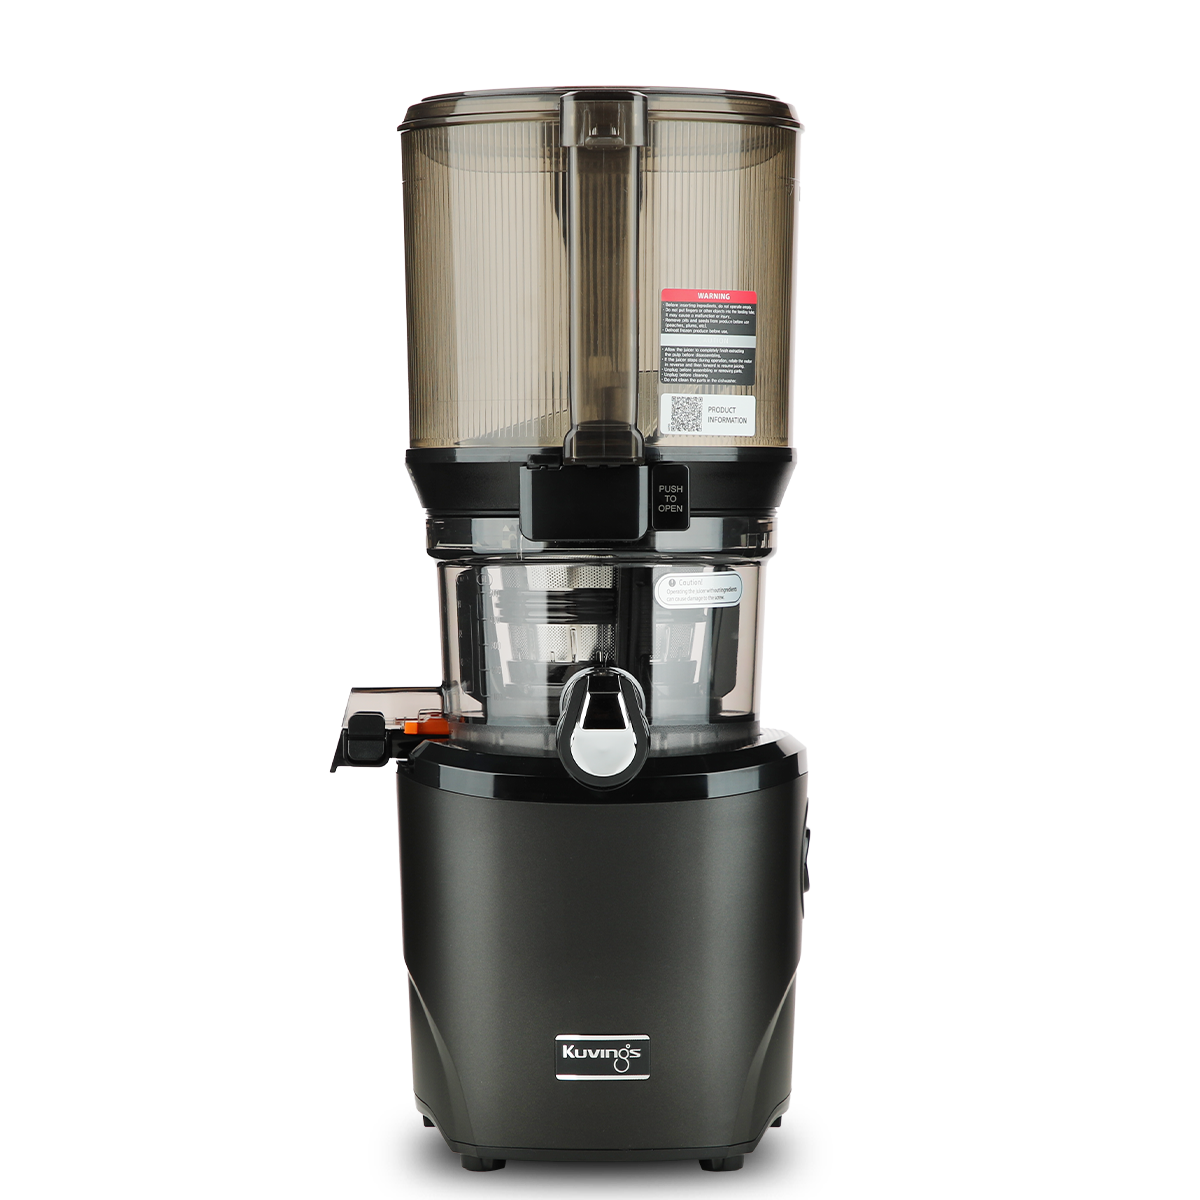
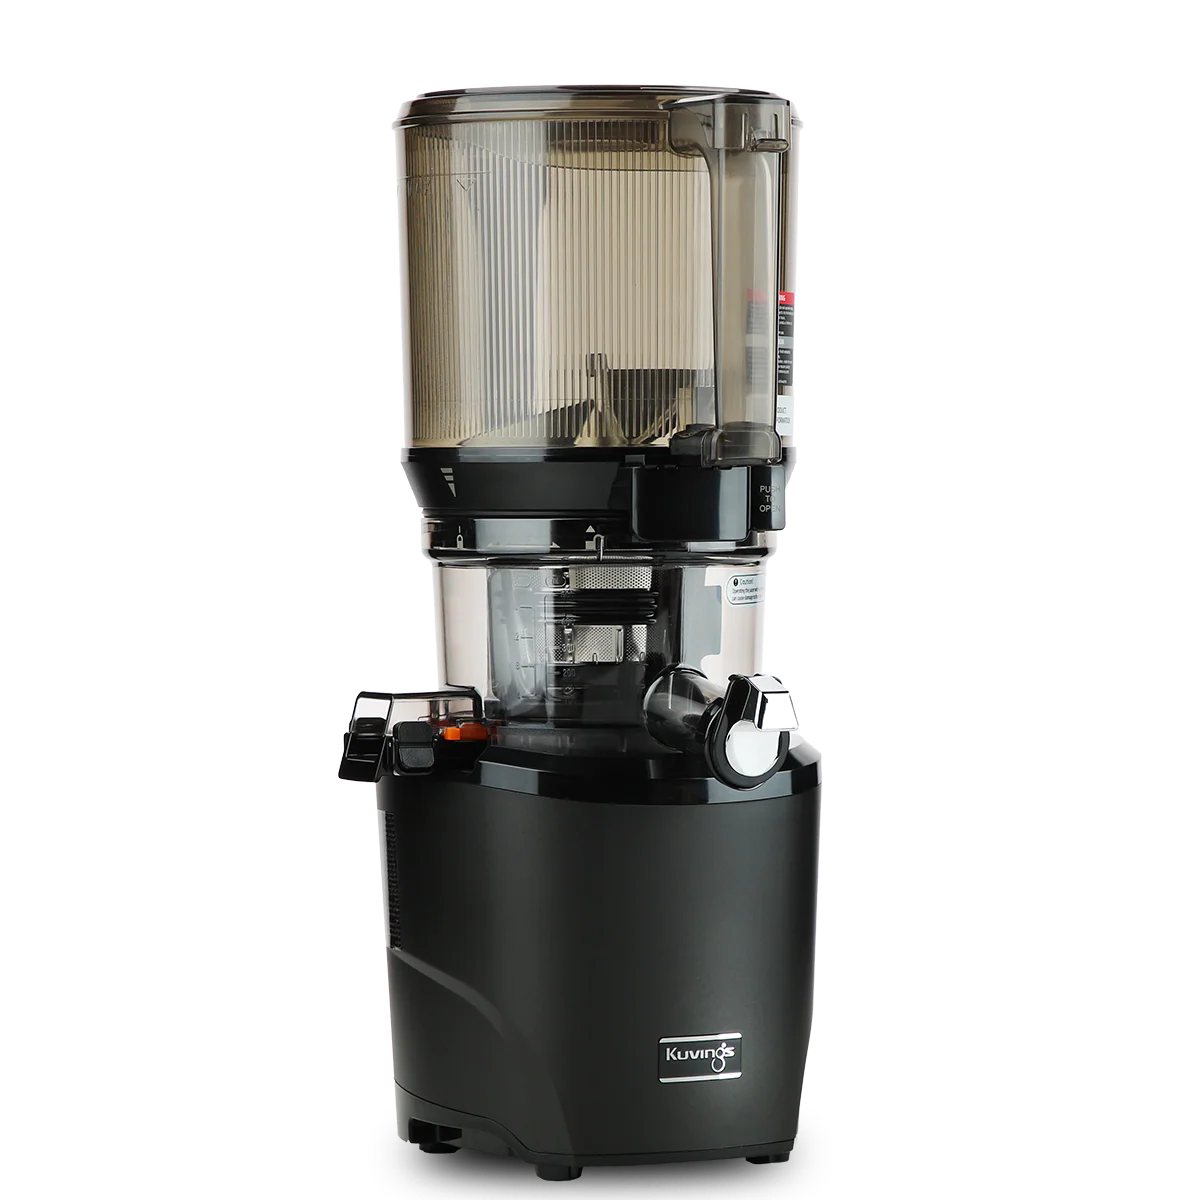
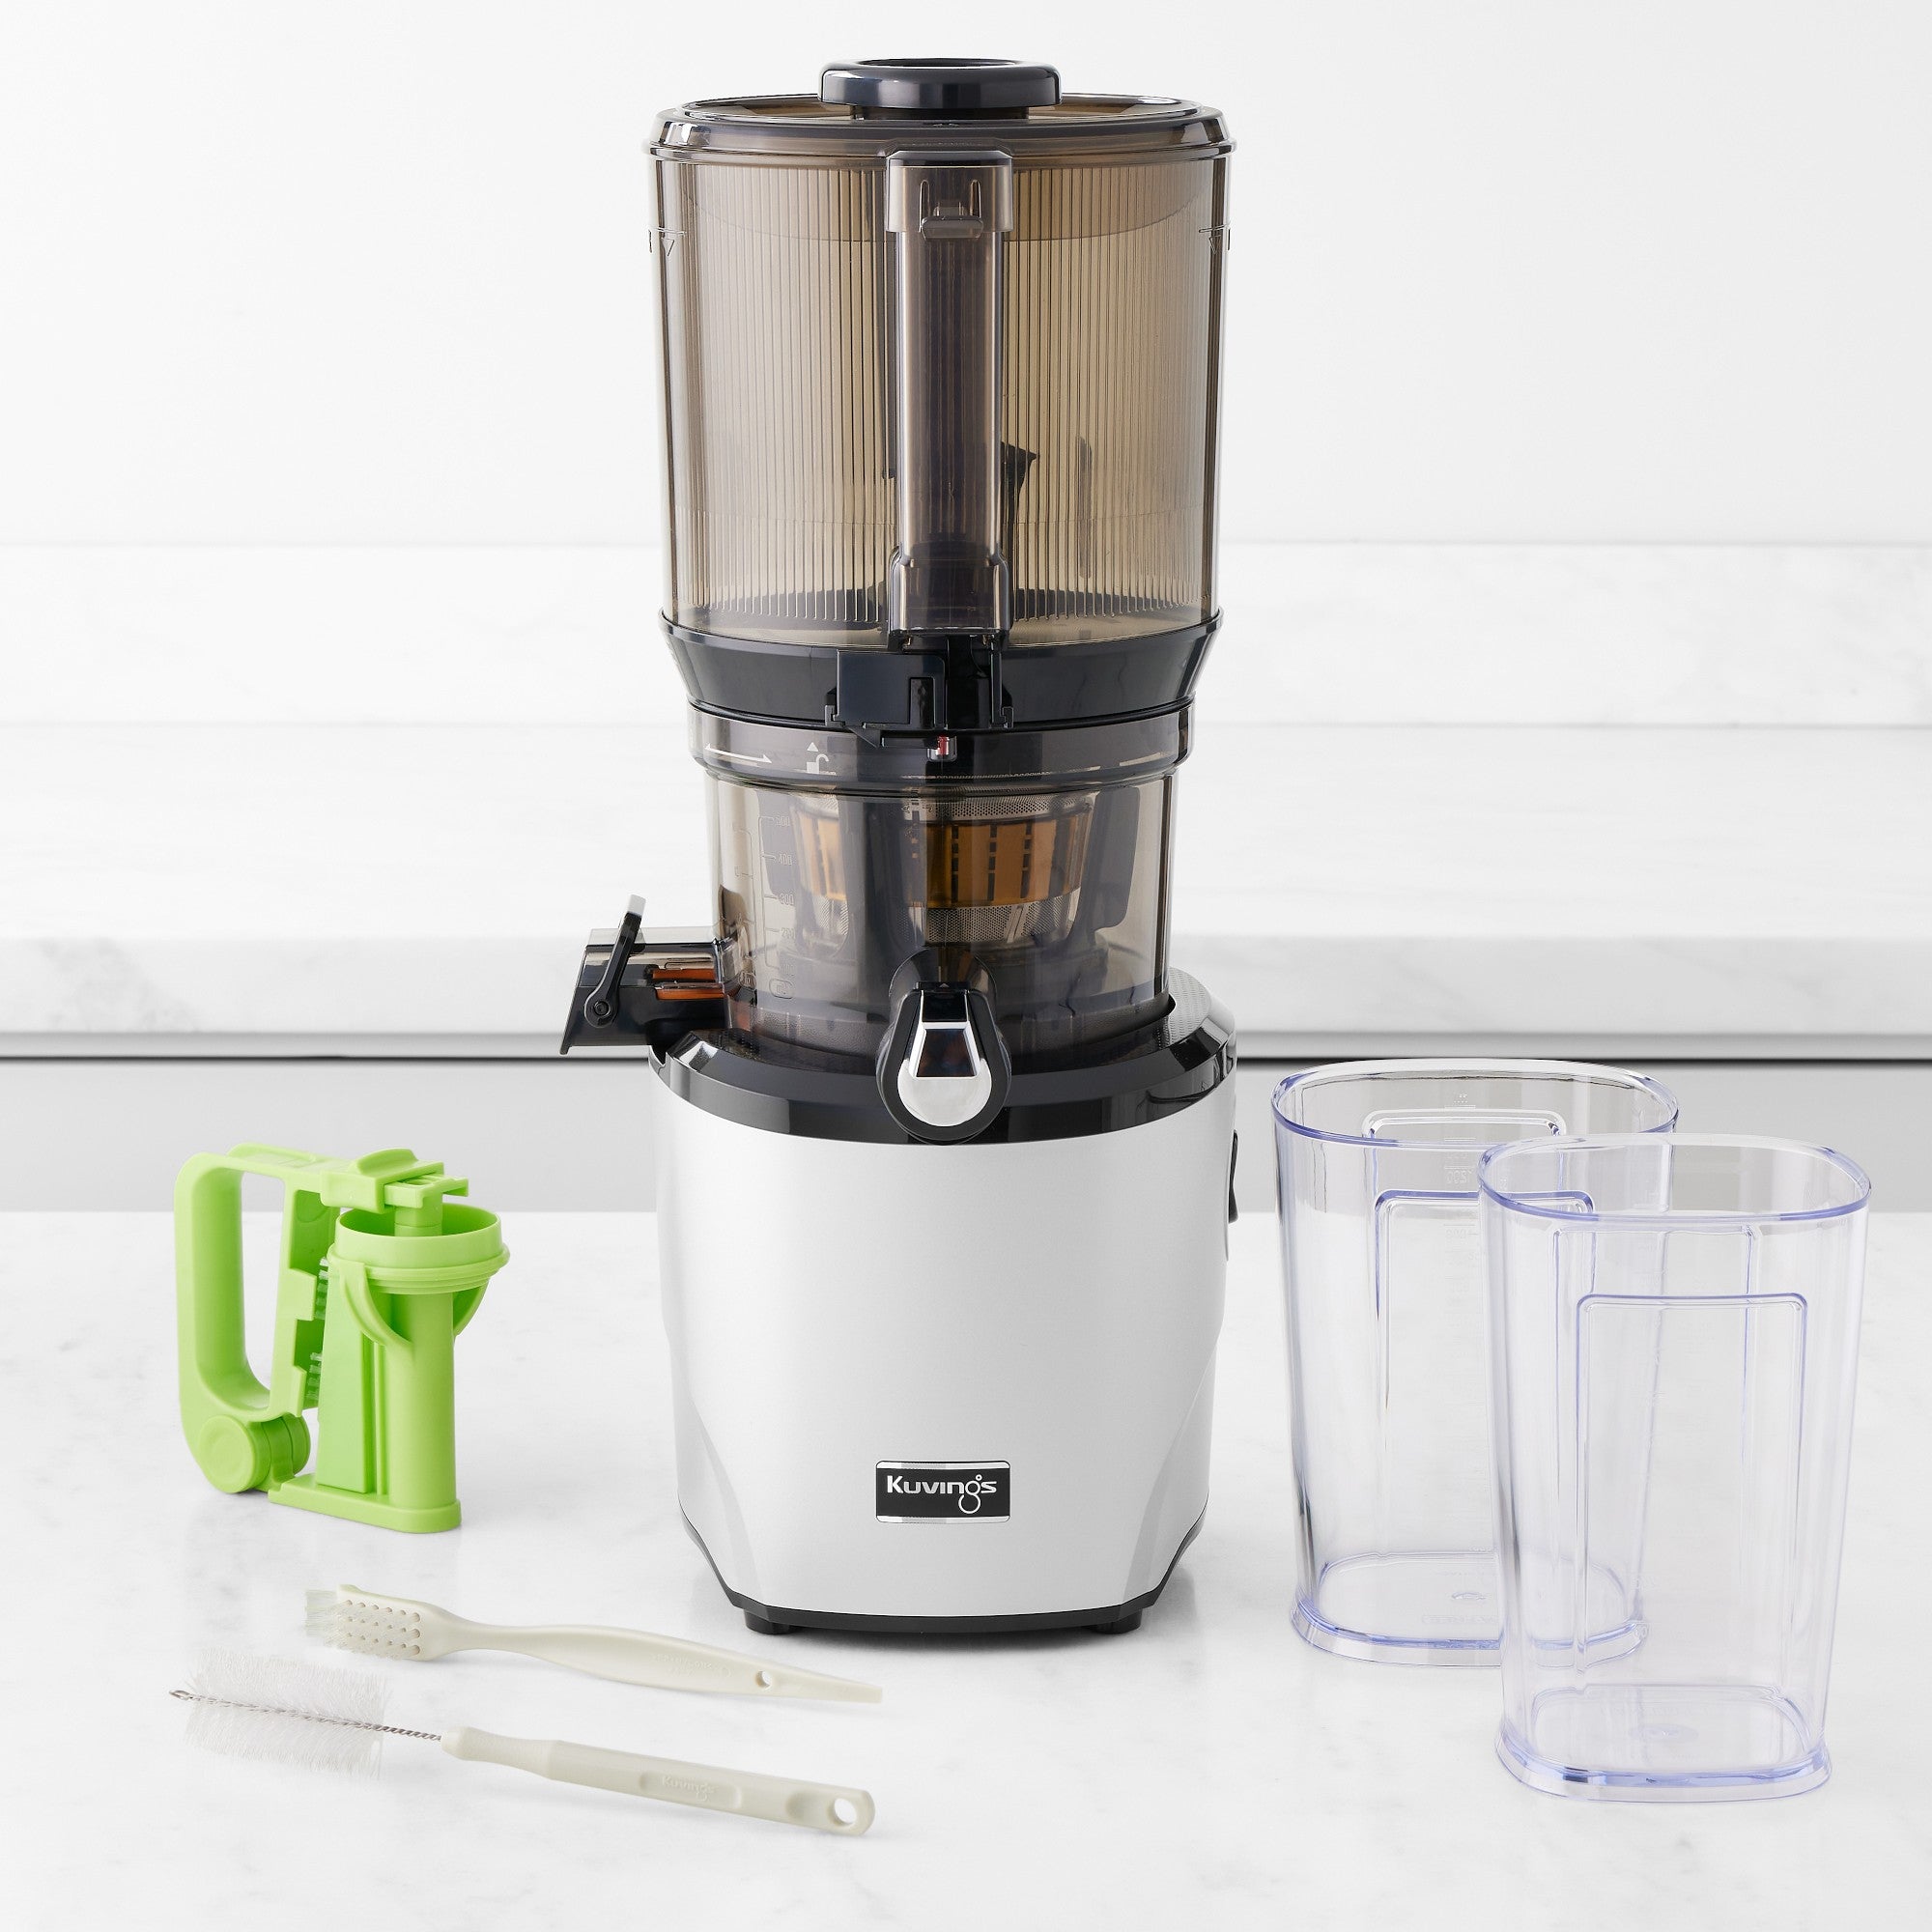
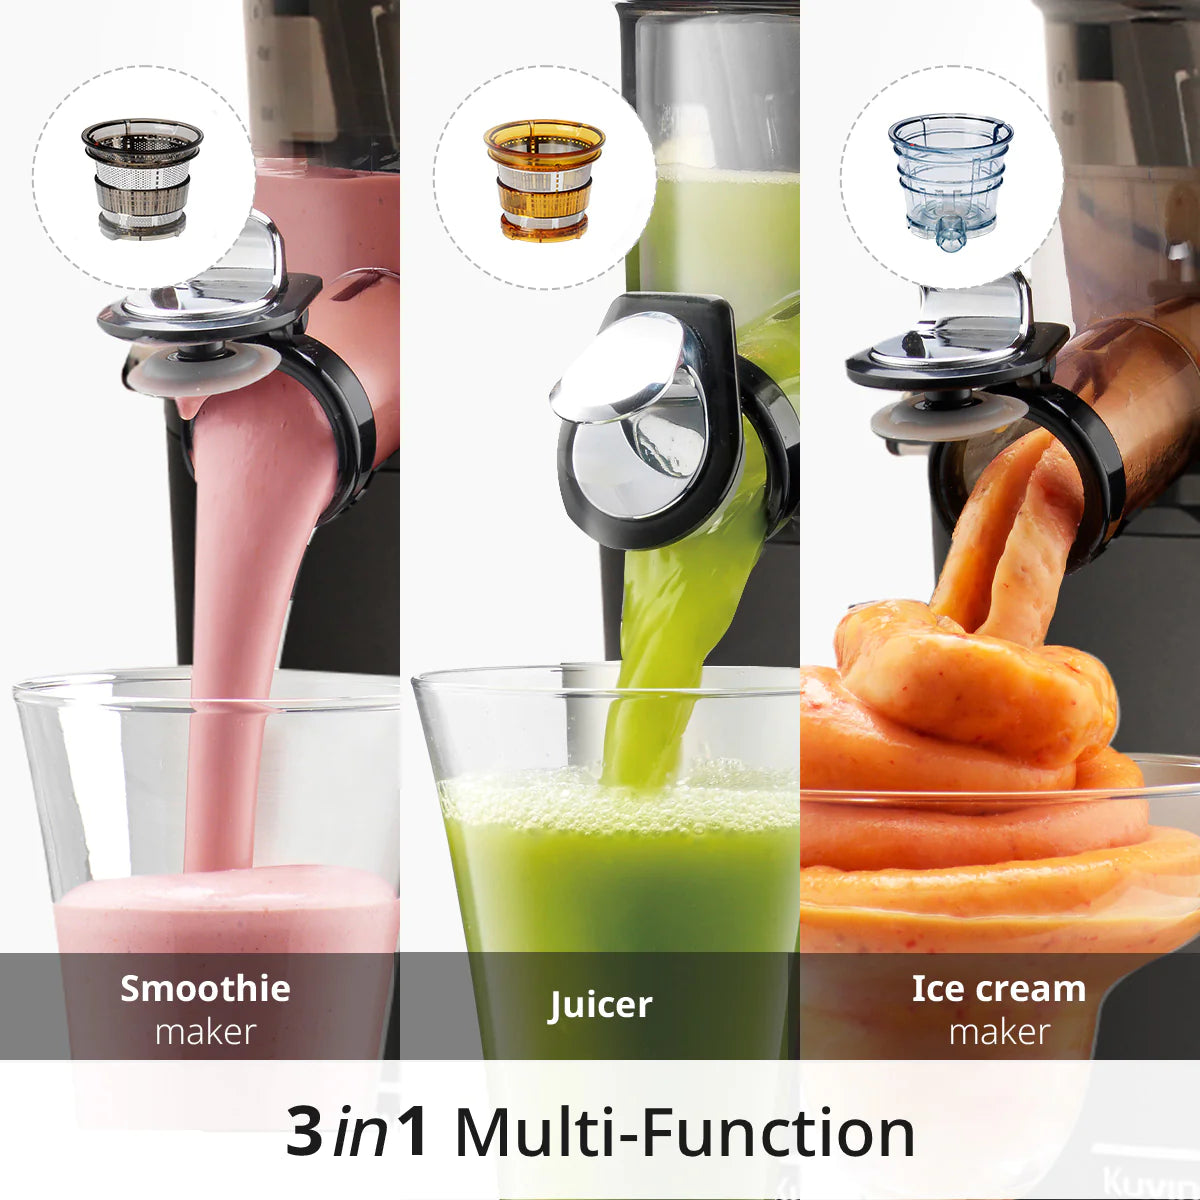
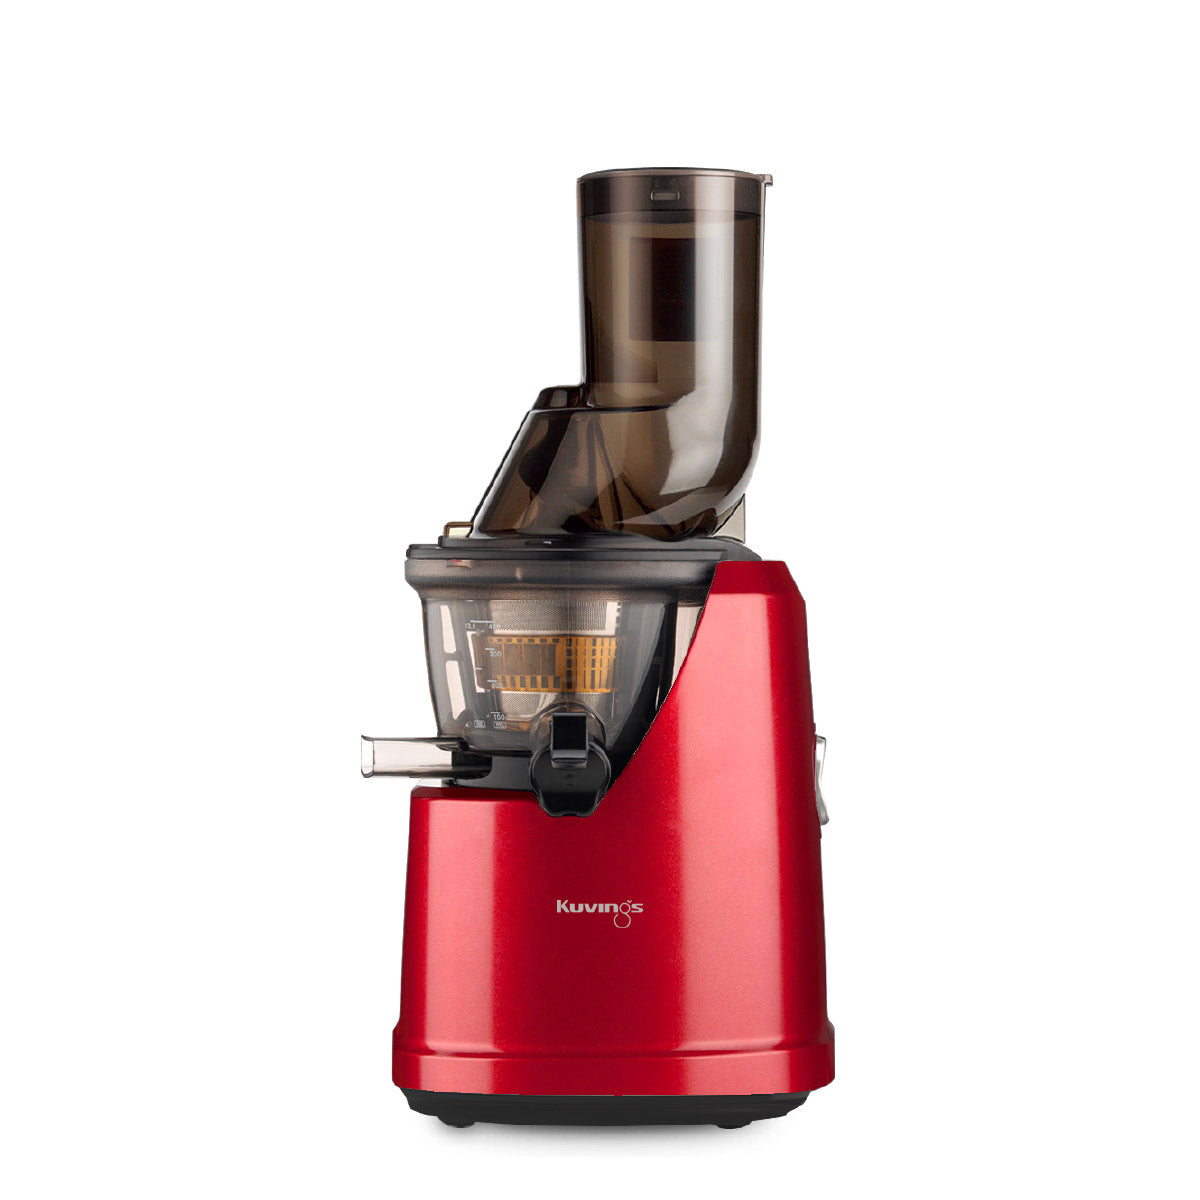
The Ice Cream Maker, also known as the blank strainer, efficiently crushes and blends ingredients to create a smooth and creamy sorbet texture. Unlike the juicing or smoothie makers, it features a hole-free design and a convenient spout.
Healthy Frozen Desserts in Minutes 🍓
Enjoy homemade ice cream and sorbet with simple frozen fruits and natural ingredients.
• No added sugar option
• Dairy-free recipes
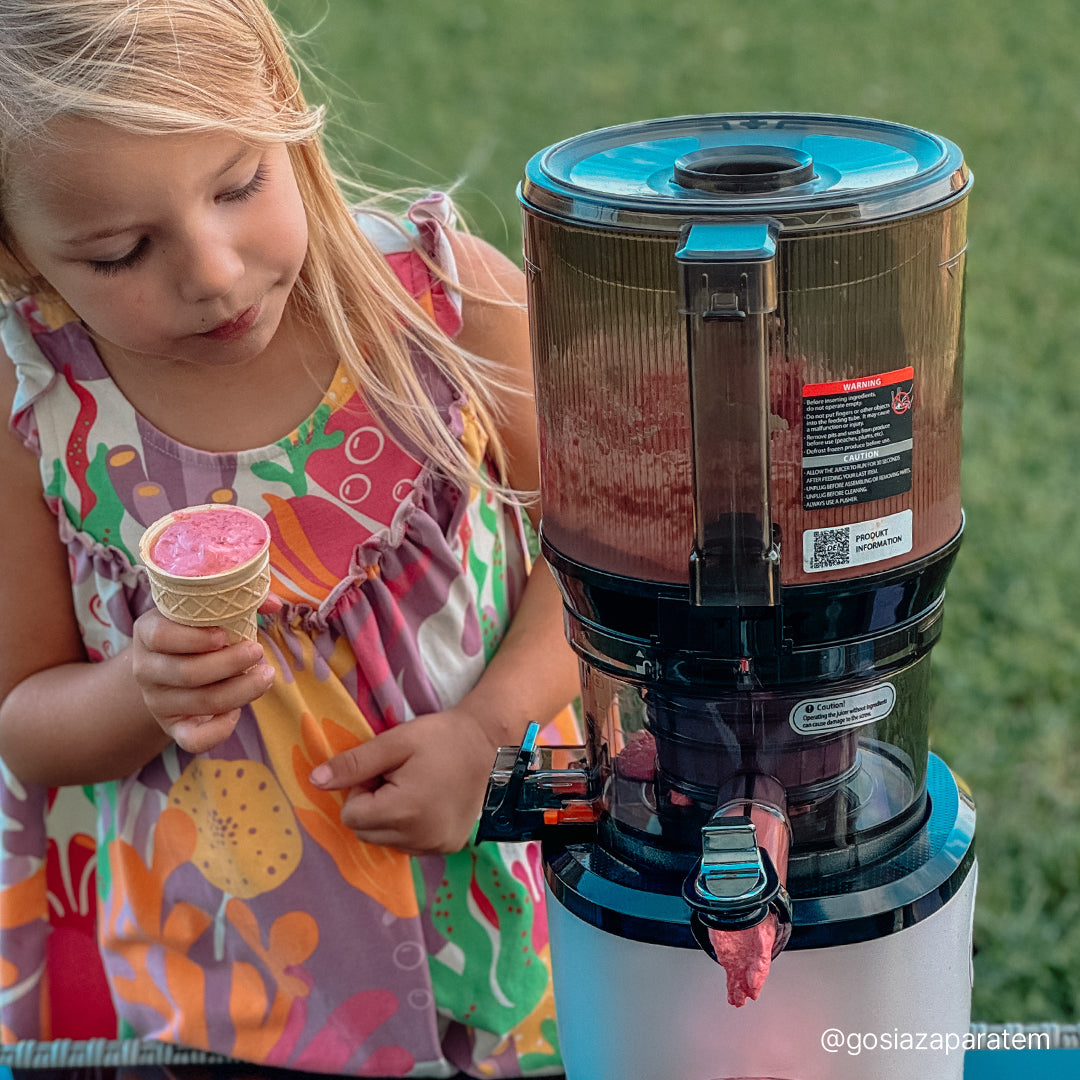
• Kid-friendly treats
How to make Ice Cream → Click!
Ice Cream Recipes → Click!
Dairy-Free Ice Cream Recipes → Click!
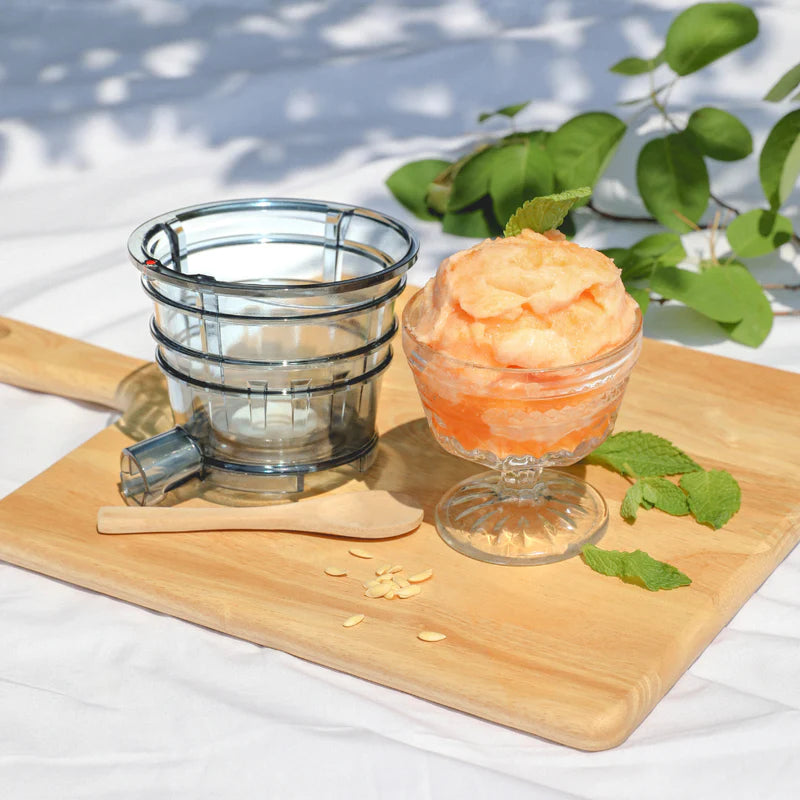
The Correct Way to Use Ice Cream Maker
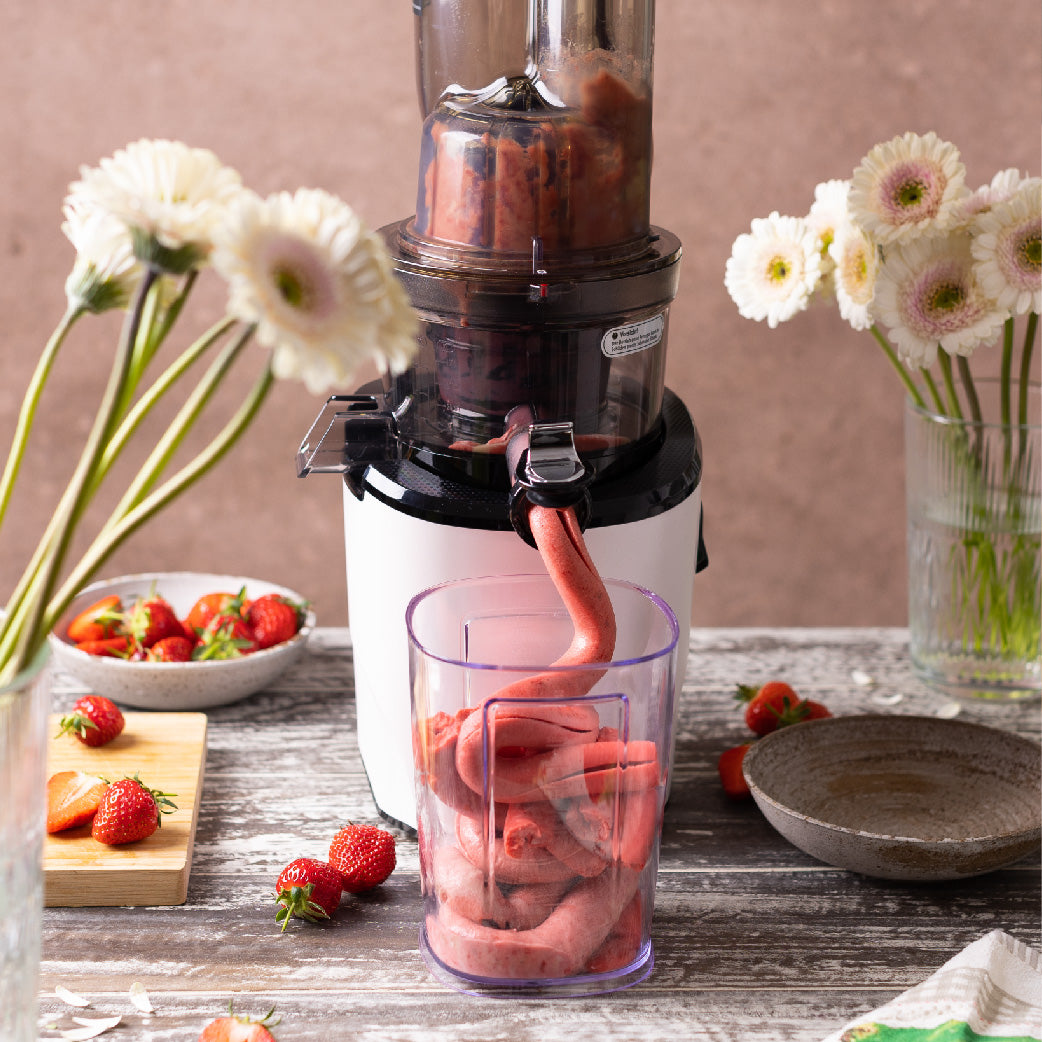
Simply attach the strainer to your juicer, insert your desired frozen fruits, and watch as your Kuvings effortlessly transforms them into smooth, creamy sorbets.
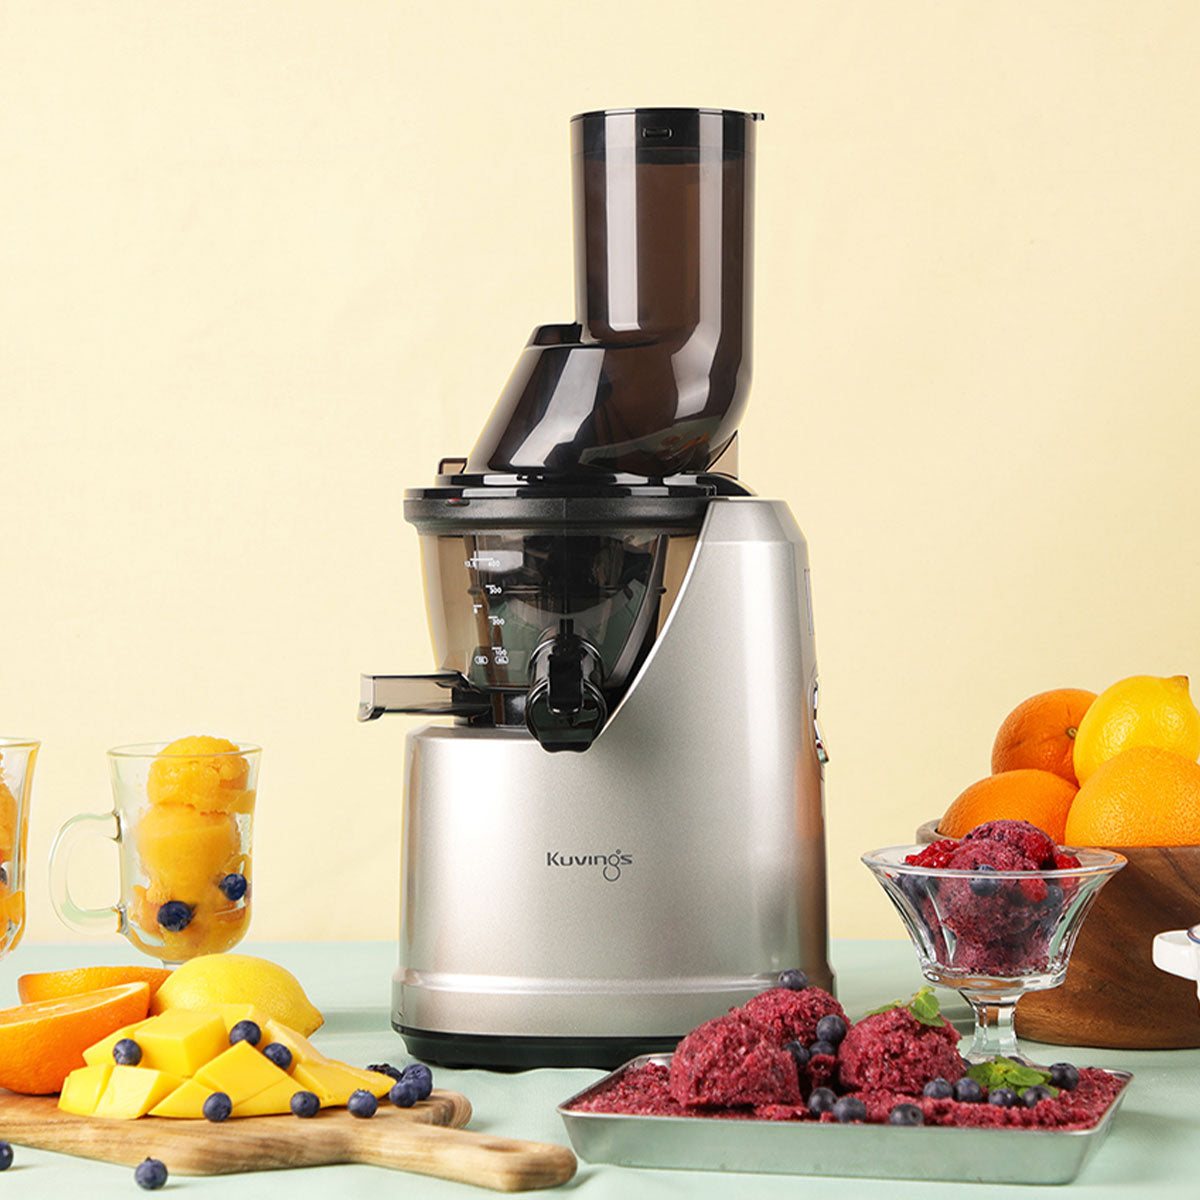
With the Ice Cream Maker, you can make sorbet, or frozen fruit ice cream (also known as “nice cream”).
It’s the perfect dessert for those sensitive to dairy, following a plant-based diet, or just wanting to enjoy a healthy alternative to ice cream.
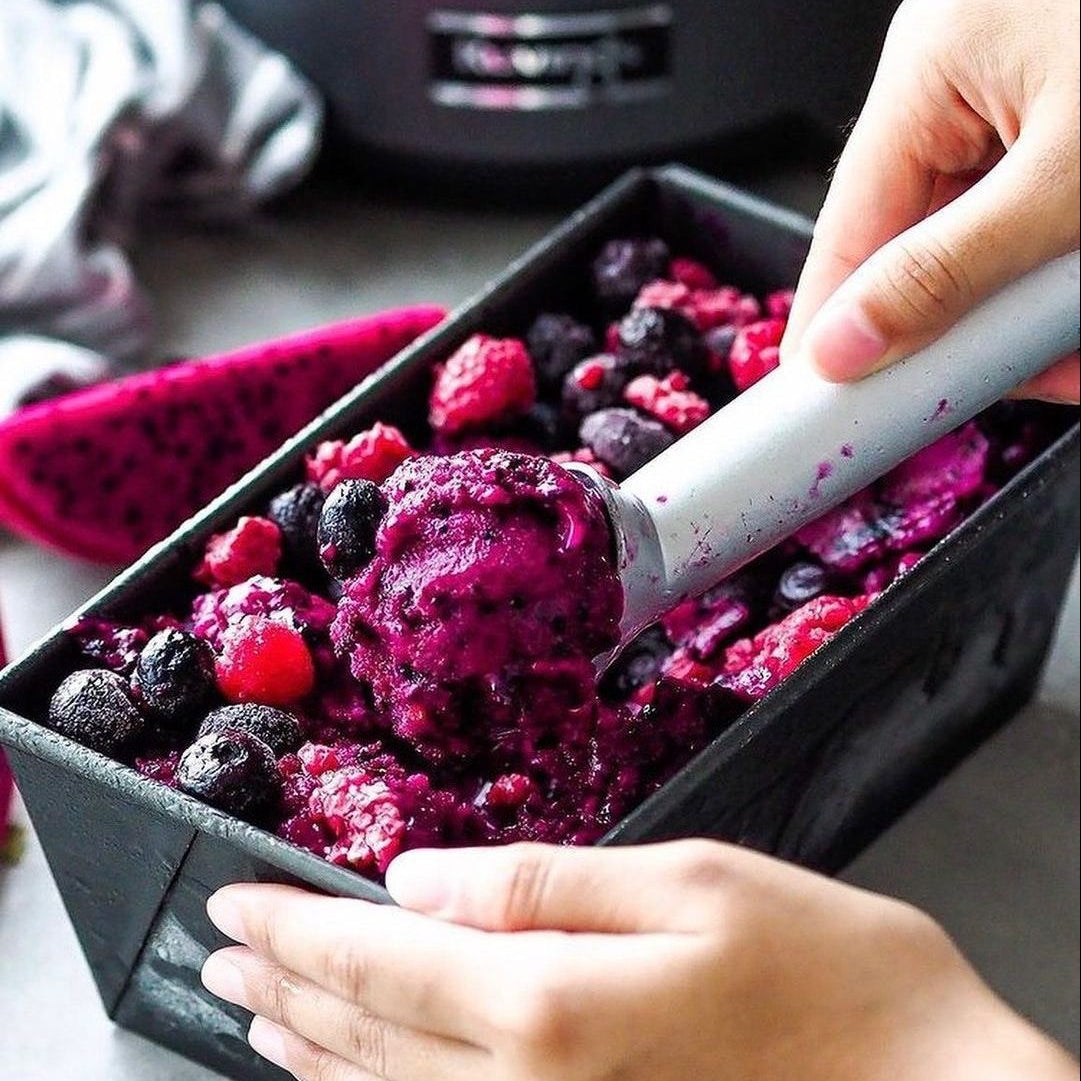
5 Dairy-Free Ice Cream Recipes
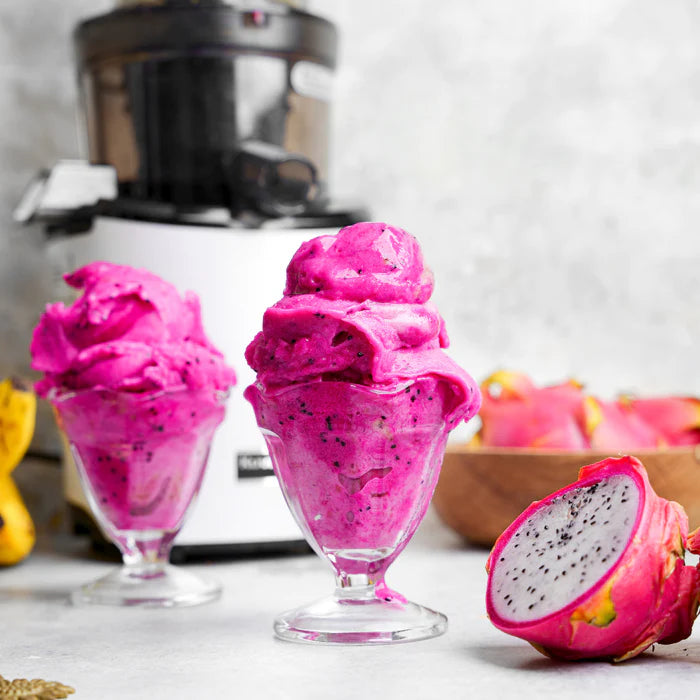
Dragon Fruit Sorbet
About the Ice Cream Maker
The ice-cream maker, also known as the blank strainer, thoroughly crushes and mixes ingredients, resulting in a delightfully smooth and creamy sorbet texture.
Unlike the juicing strainer and smoothie strainer, the ice-cream maker lacks holes and features a convenient spout.
By not having holes, the ice-cream maker ensures that the entirety of all ingredients inserted into the juicer are seamlessly homogenized. Moreover, the ice-cream maker's spout facilitates the direct feeding of the sorbet to the juice cap, enhancing the overall user experience.
How to Use the Maker & Create the Perfect Ice Cream
This is our curated guide to creating the perfect sorbet for you to enjoy.
01
Assembly
When using the ice-cream maker, you can directly place the maker into the base by aligning the red dot on the maker with the red dot on the juicing bowl. Once properly aligned, push the auger down into the maker and assemble the top set. The maker includes a silicone ring located at the bottom, effectively sealing the hole where pulp would typically be extracted.

02
Frozen Ingredients
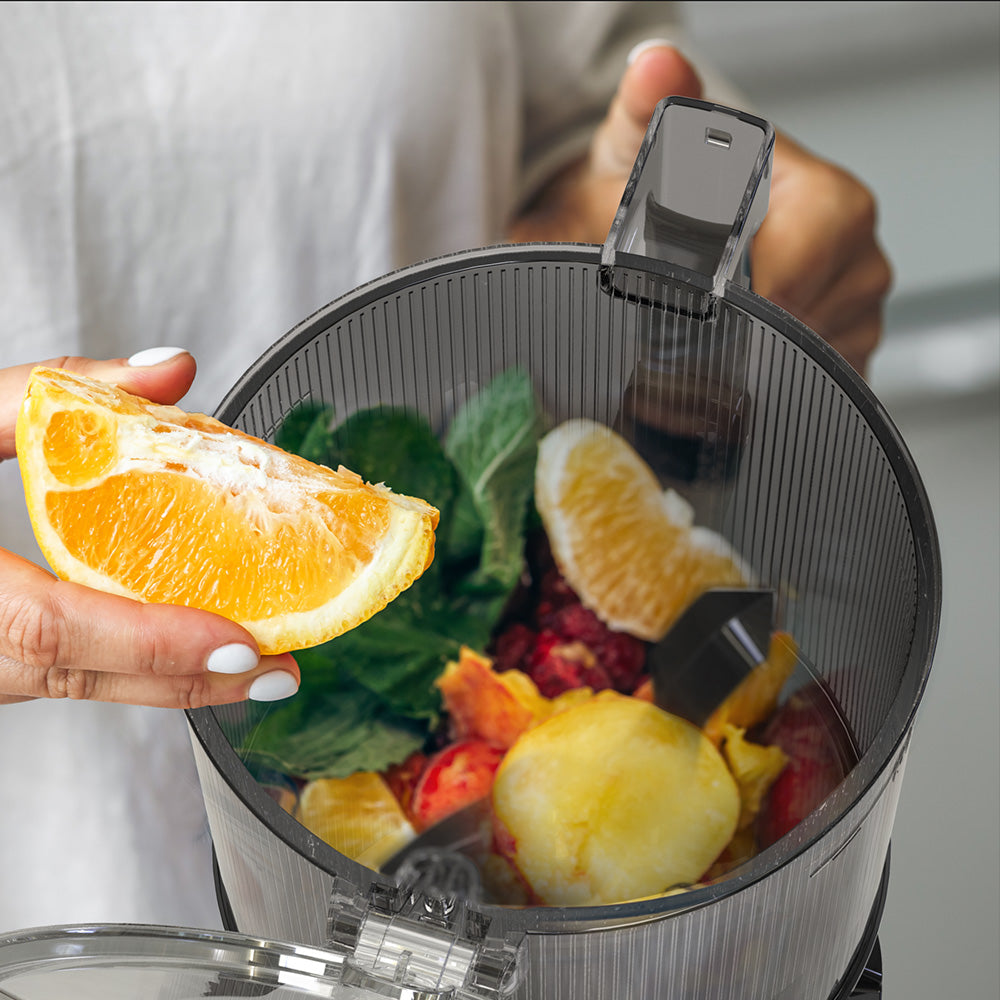
Using primarily frozen ingredients ensures that your sorbet attains a lusciously thick and icy texture. You can either purchase pre-frozen ingredients or freeze fresh ingredients yourself. Whichever method you choose, it is crucial that the ingredients are frozen for at least 8 hours or overnight. This duration ensures that the ingredients reach the required level of frozen solidity. Insufficient freezing time may cause the ingredients to get stuck in the strainer and for the sorbet to have a pulpy texture.
Before using your frozen ingredients, it is recommended to thaw them for a minimum of 5 minutes. Thawing the ingredients allows the juicer to effectively crush and process them without encountering difficulties. Failure to thaw the ingredients adequately may put excessive strain on the juicer, potentially leading to breakage or damage. The latter also applies to the insertion of ice. Ice should not be inserted into the juicer. However, be careful to not over-thaw your frozen ingredients or your sorbet will have a drippy, slushy-like consistency.
03
Additional Ingredients
To achieve the desired flavor and texture in your sorbet, there are various ingredients you can incorporate. Enhance your sorbet by adding ingredients such as milk, lemon/lime juice, yogurt, honey, syrup, vanilla extract, mint, or salt, depending on your preferences. If utilizing these ingredients, it is recommended to combine them in a small bowl or cup before inserting them into the juicer as a mixture. Additionally, for a creamier sorbet consistency, consider coating your ingredients with condensed milk prior to feeding them into the juicer.

04
Smart Cap
When making your sorbet, it is important to keep the smart cap open throughout the process. Unlike the juicing strainer and smoothie strainer, the sorbet strainer lacks holes, causing the sorbet to accumulate inside the strainer instead. This buildup within the strainer can potentially result in clogging and interruption of the sorbet-making process.
05
Small Portions at a Time
For optimal performance, it is recommended to insert small portions of ingredients at a time. This approach allows the auger to concentrate on each portion, effectively crushing the ingredients and preventing any missed chunks. You can slowly feed the juicer with one ingredient at a time to create a delightful single-flavor sorbet. If you prefer a multi-flavor sorbet, alternate between multiple ingredients. The juicer will mix your ingredients for you.
06
Serving
Once you’re done making your sorbet, thoroughly mix it with a spoon to combine the flavors. You also have the opportunity to add your desired toppings.
07
Storing
You have the choice to enjoy your sorbet immediately or store it for later indulgence. If you opt to save it for later, ensure you transfer the sorbet into a container that is safe for freezing. This step guarantees the sorbet remains in optimal condition until you’re ready to savor it. When the time comes to serve the frozen sorbet, allow it to soften for a few minutes to achieve the ideal consistency for scooping and enjoying.
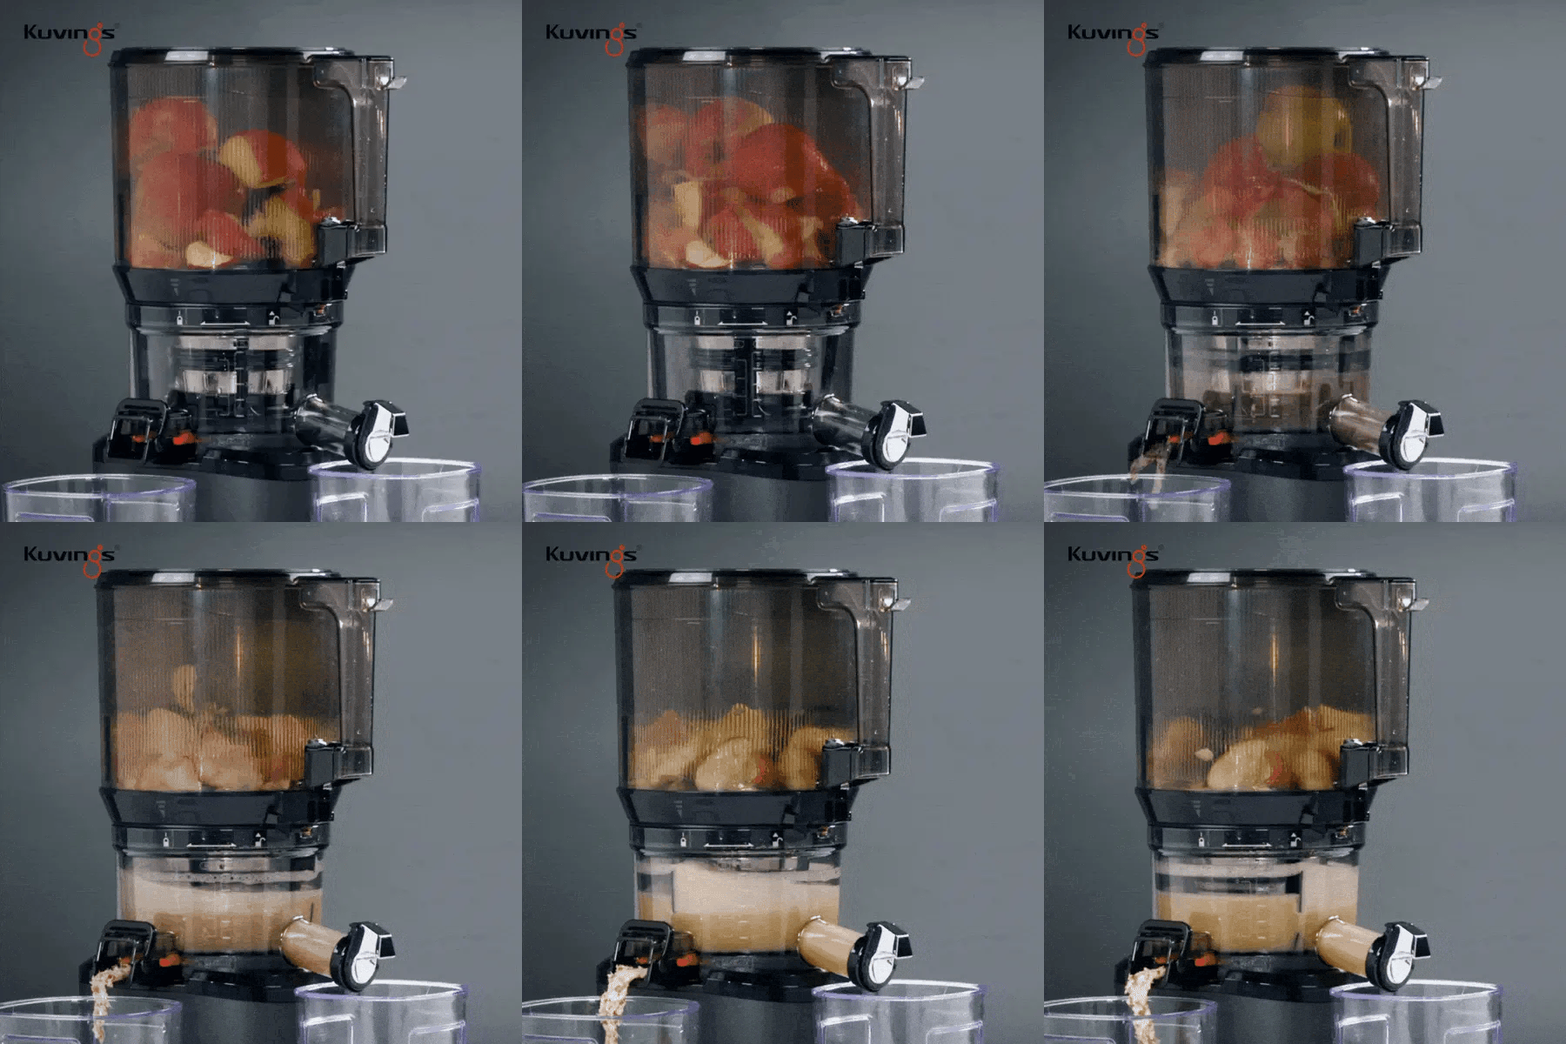
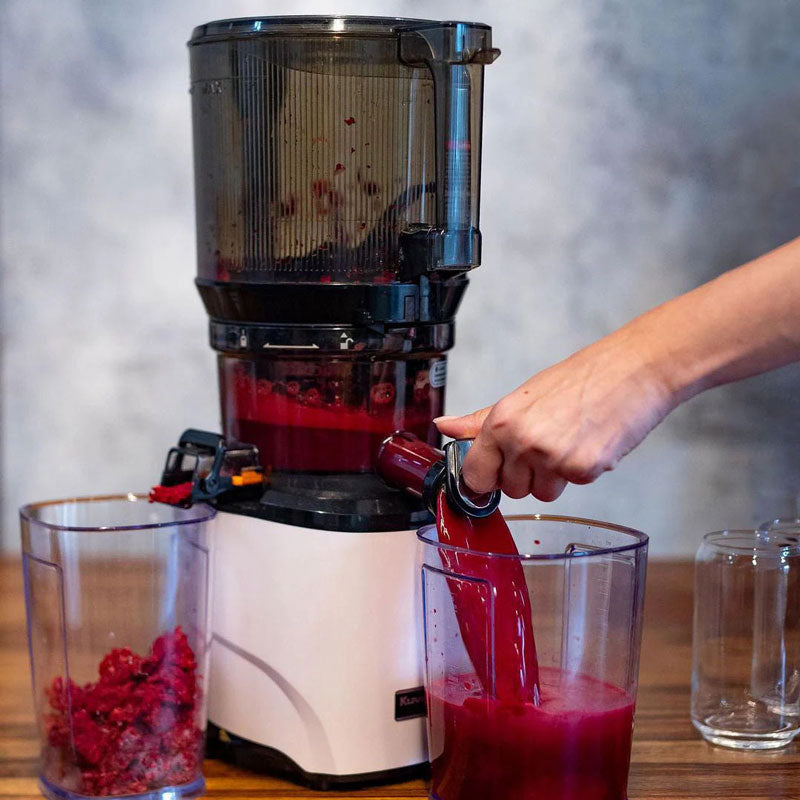
Here is a quick demo of the sorbet strainer at work: